Quick and short guide, if you don't feel that you're up to the task, don't do it, go get someone who can (and pay them), but if you wan't to save a few hundred pesos and labor cost and don't want to line up to CM's service center, then read on.


Pry open the tablet, carefully! Try to snap open one corner, and as much as possible do not use metal tools at you could scratch the chassis. Once you've opened up a corner, you can work your way around the whole chassis (slowly!) with only your fingers or using a plastic tool that you can use to pry it open.
Carefully lift the latch that holds the LCD and digitizer's FPC (Flexible Printed Circuit) that connects it to the mainboard, then remove the cable.
Using a plastic tool, carefully remove the LCD from the touchscreen/digitizer, just slightly move the retaining clip away from the LCD, give a bit of slack to release the LCD.
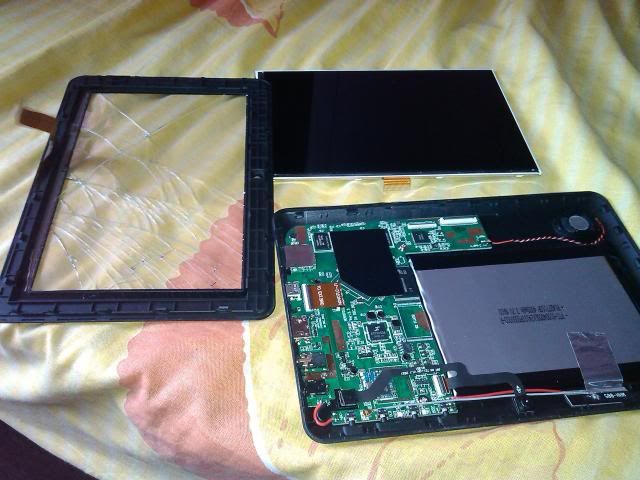
The tablet disassembled. Seen on this photo are the touchscreen/digitizer, the LCD and the last is the mainboard with the huge battery.
People complain that the WIFI is weak, and I now know why, since the WIFI antenna is short.
People complain that the WIFI is weak, and I now know why, since the WIFI antenna is short.
Now go to LRT Mall, look for shops, someone posted in CM Fusion Bolt's page that he found a store selling a digitizer for only 250PHP, I didn't bother looking around since I found one for 350PHP, not bad.
The part number is C182123A1-FPC659DR-04
Manufacturer or brand is HOTATOUCH
On to the repair, I did this inside our car while parked at SM MOA, the only tool I have is an old credit card.
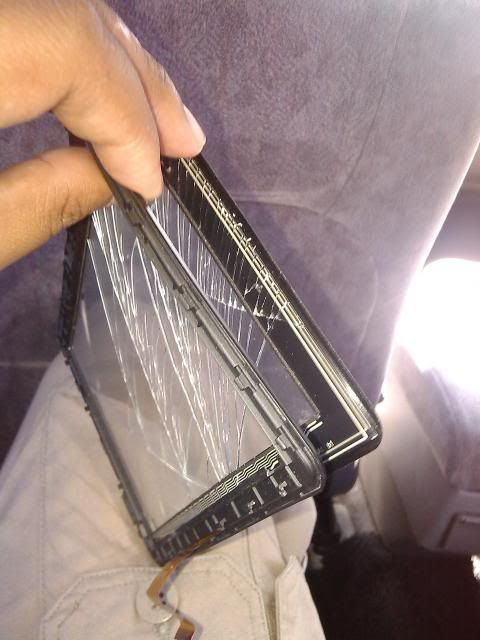
Carefully detach the digitizer from the plastic bezel, use a hard piece of plastic such as an ATM or credit card to pry it open.
BE CAREFUL not to cut yourself, cause I did! Ouch!
BE CAREFUL not to cut yourself, cause I did! Ouch!
The digitizer is held by double sided tape to the bezel, the original tape was still sticky but I decided to add a new layer of tape anyway.
Carefully stick the new digitzer to the bezel, make sure that you insert the FPC (flexible printed circuit) cable through the hole.
Connect the digitzer's and LCD's FPC to the mainboard.
Power up and make sure everything is working fine, then snap the bezel back to the chassis.
Give yourself a pat on the back for a job well done! You just saved yourself some money for doing it all by yourself.
Total cost: 350 PHP
Total cost: 350 PHP


